|
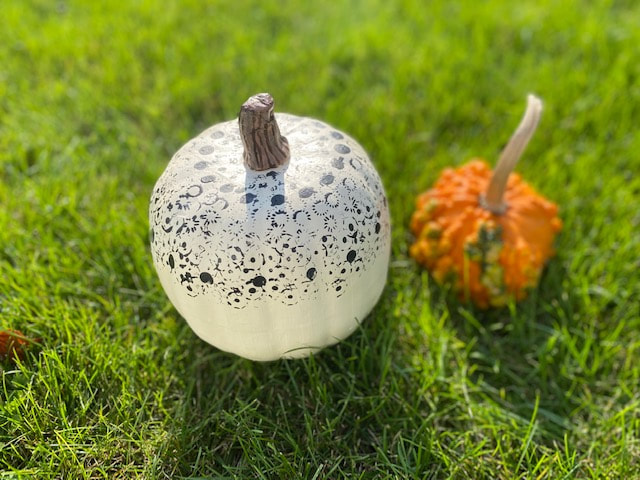
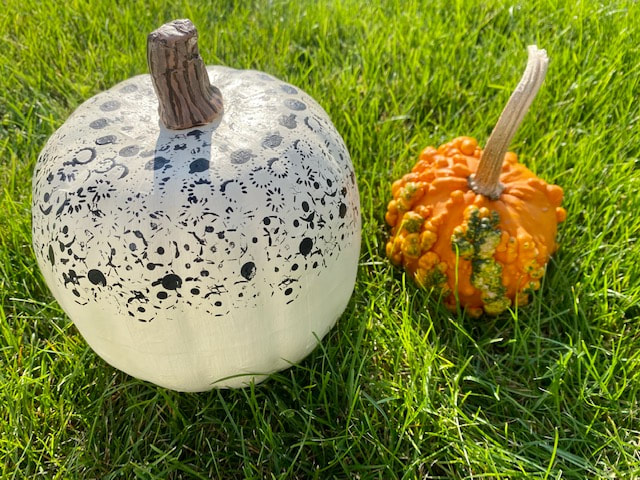
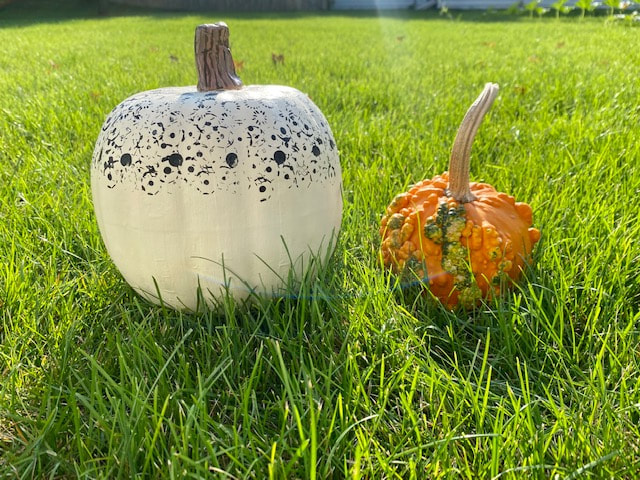
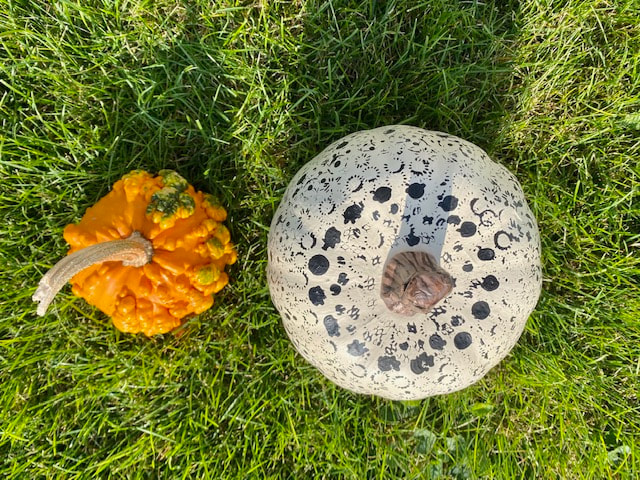
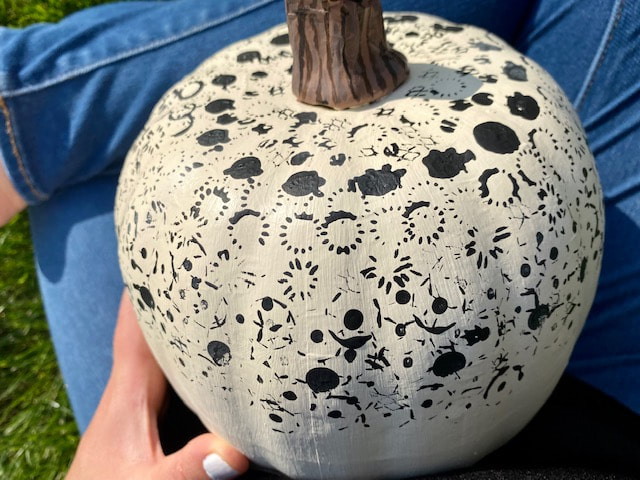
If you have no time to make it to the pumpkin patch this fall, that’s all right. In just an afternoon, create a paper mâché pumpkin that you’ll fall in love with year after year! This project explores the negative space and texture created by stamping a surface with found objects. I used a variety of vintage buttons to stamp my pumpkin, but you can use just about anything textured for stamping, including old, new, manufactured, or natural items. Pick your favorite crafting pumpkin and let’s begin! For this project, you’ll need:
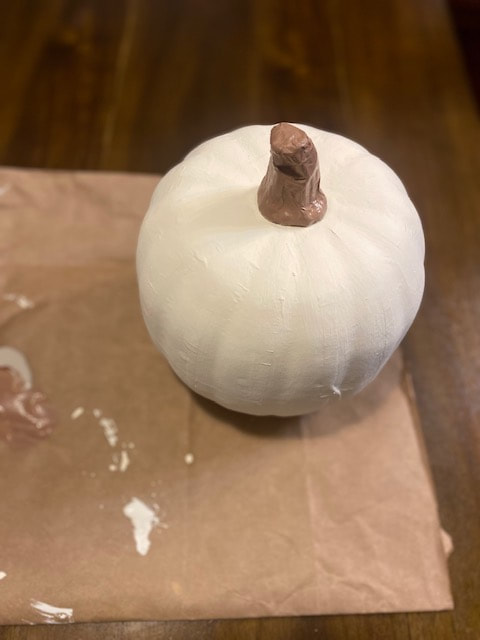
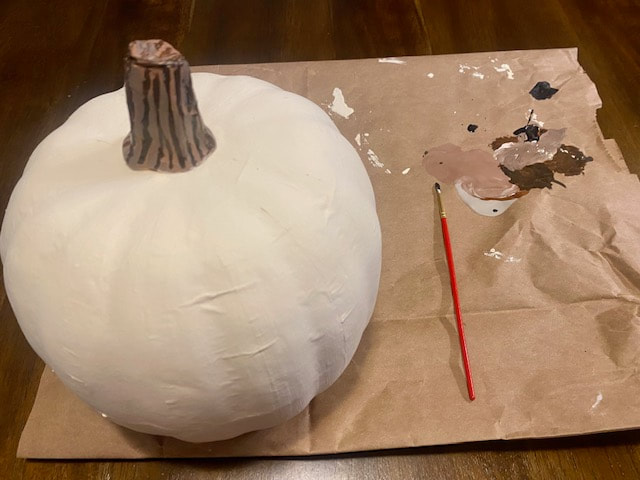
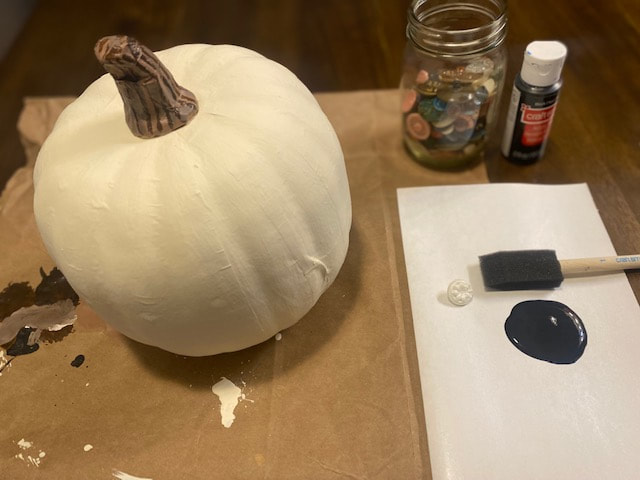
1. Using a foam brush, evenly paint the pumpkin with 3 coats of cream acrylic paint, allowing each coat to fully dry. 2. With the paintbrush, paint the pumpkin’s stem with brown paint and allow it to dry. Mix black and cream paint into the brown paint to create a lighter and a darker shade of brown. Paint fine lines onto the stem with the custom lighter and darker brown shades you mixed to add realistic variegation. 3. Use the foam brush to dab a thin layer of black paint onto the most raised parts of a found object. Stamp the design onto the pumpkin, starting with the part closest to the stem and working outward. Continue stamping with a variety of found objects to form a concentric design until you’ve decorated the top third of the pumpkin. Allow the paint to dry. 4. Spray the pumpkin with two coats of Mod Podge Matte Clear Acrylic Sealer to protect the paint job. Your pumpkin is now ready for its big reveal! I hope you enjoy this beautiful season. For more fall fun, please visit these previous posts:
-To make a driftwood boho wall hanging - To create an upcycled driftwood pumpkin magnet - To mix up pumpkin pie ice cream - To fashion another fabulous faux pumpkin - To warm up with retro potato soup or cheddar harvest squash soup - To whip up coconut chai body balm - To stitch a reversible upcycled fall mandala locket - To curate a collection of cold weather essentials
0 Comments
Leave a Reply. |
Hello, there!
Thanks for visiting! Archives
February 2024
Categories |
 RSS Feed