|
Since soup is my go-to meal in winter months, I tried out one of Mrs. Williams’s recipes for it. This potato soup is simple, hearty, and satisfying. Here’s her original recipe:
Mash and pare the potatoes and let them soak in cold water half an hour. Put them into boiling water and cook until they’re very soft. Cook the onions with the milk in a double boiler. When the potatoes are soft, drain off the water and mash them. Add the boiling milk and seasoning. Put it through a strainer and put it on to boil again. Put the butter in a small square pan and when melted and bubbly, add the flour. When it’s well mixed, add it to the soup and boil it for 5 minutes. 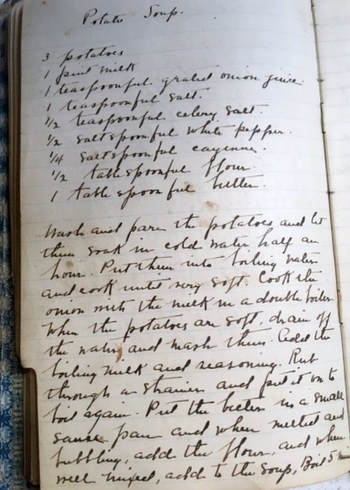 By now you’re probably wondering what a salt spoon is. Starting in the early 1930s, anticaking agents such as silicates were added to table salt to keep the grains from clumping together. Before the use of these additives, a lump of salt was stored in a salt cellar, broken up, and served to guests with salt spoons. I used teaspoonfuls of ingredients instead of saltspoonfuls. Here’s my modern take on the recipe: I doubled the recipe, added a ½ teaspoonful of ancho chili pepper for extra kick, and put everything in a crockpot. I cooked the soup on the low heat setting overnight. I served it with lots of golden and white cheddar cheese. I’m a Wisconsinite, after all! See you next year!
0 Comments
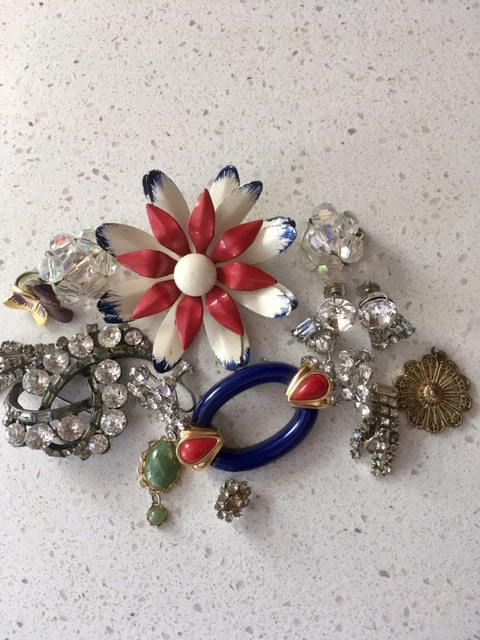
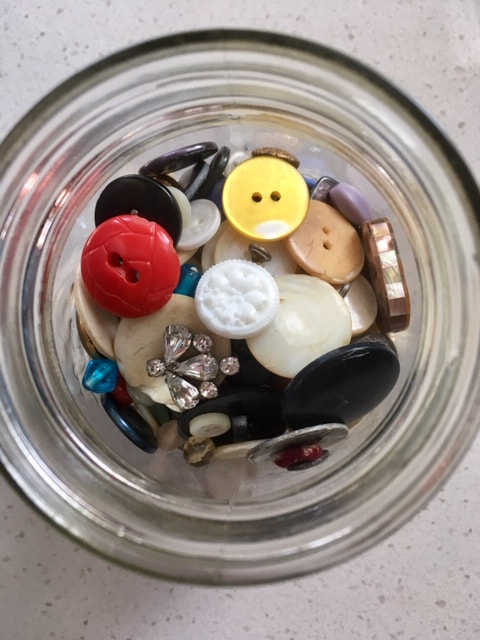
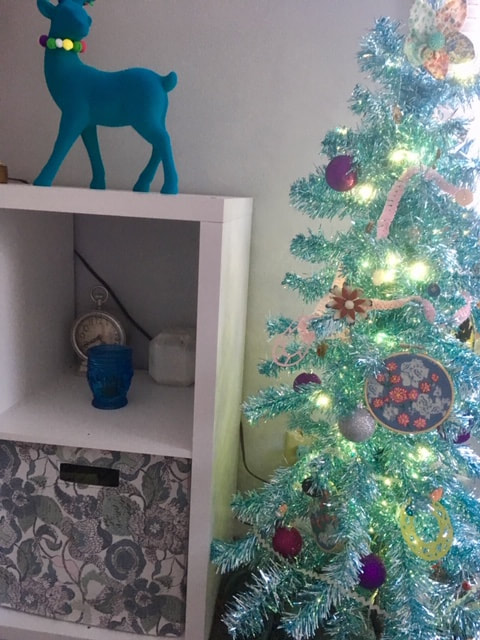
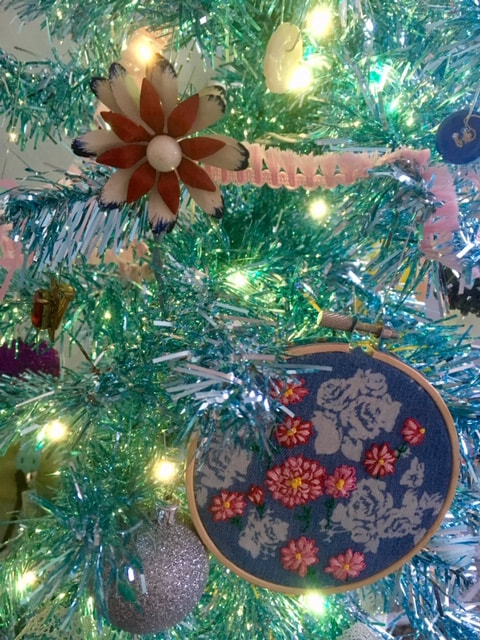
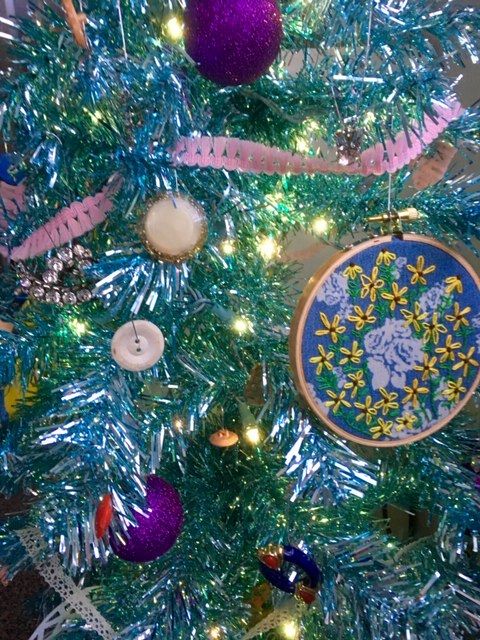
Every action has an equal and opposite reaction. After a decade of coffee house neutrals and stark white walls, the understated aesthetic is fading fast and bold is back! It’s no surprise that maximalism is one of the top home décor trends of 2018. Due to this shift in style, the blogosphere is twinkling with ornately trimmed, over the top mini trees this year. Ornaments and pieces with fine details that go unnoticed on a gigantic tree truly shine when showcased on a tiny tree. I challenge you to channel your inner maker by decorating a mini tree in true maximalist style with elaborate handmade crafts and eclectic items you’ve created or collected. Make sure you have lots of ornament hooks available and follow these steps to DIY: 1. Start with an adorable mini tree. This kitschy teal foil Christmas tree fits the character of my mid-century modern house. Add just a few ornaments.  2. Add lightweight handmade things. I chose cut paper art and upcycled denim embroidery hoops that I made earlier this year. If you’re not a maker, go shopping at the nearest Christmas market to support local artisans. 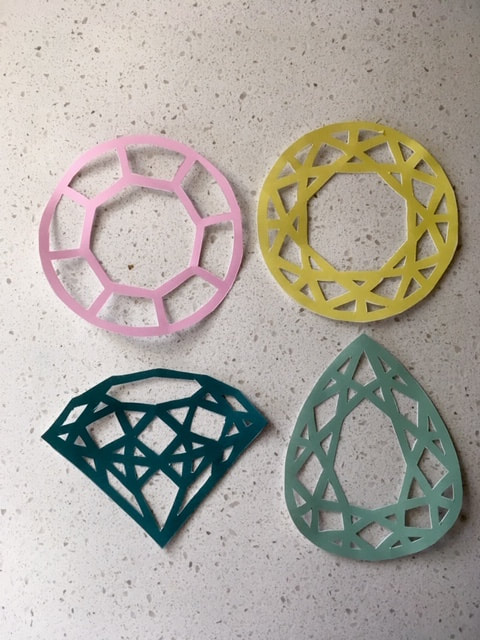 3. Make a statement by incorporating your favorite items—vintage jewelry, geode slices, beads, buttons, silk flowers, or even succulents work! 4. Raid your crafting stash and your closet for the finishing touches. Weave ribbons, trim, and vintage lace through the tree’s branches. Drape your favorite scarf over the tree stand for a luxe instant tree skirt. Enjoy your beautiful tree! ‘Tis the Season for Ribbon Wreaths: A Tutorial for How to Make Your Own and Winter Project Ideas!12/8/2018 One of my friends taught me how to make wreaths with ribbons or pieces of fabric. Ever since then, I’ve been making customized centerpieces for every season in my favorite colors with this easy technique. Unlike their floral counterparts, ribbon wreaths are truly evergreen and won’t wilt or crumble. To make this project, you’ll need the following supplies:
Here’s the technique for making these wreaths:
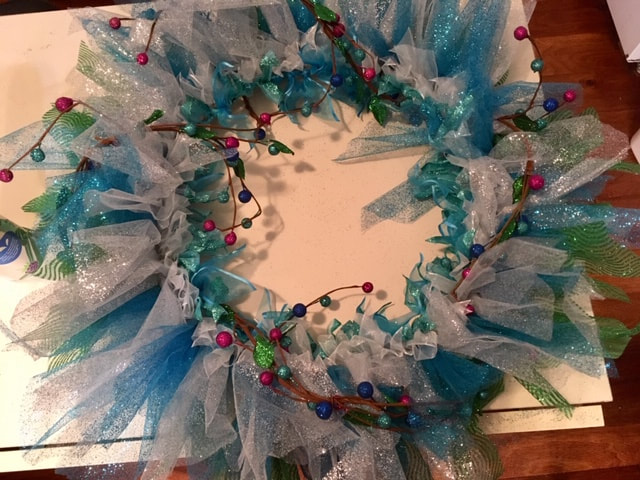
 2. Pull the loose ends through the looped end.  3. Tighten the ribbon on the wire frame. 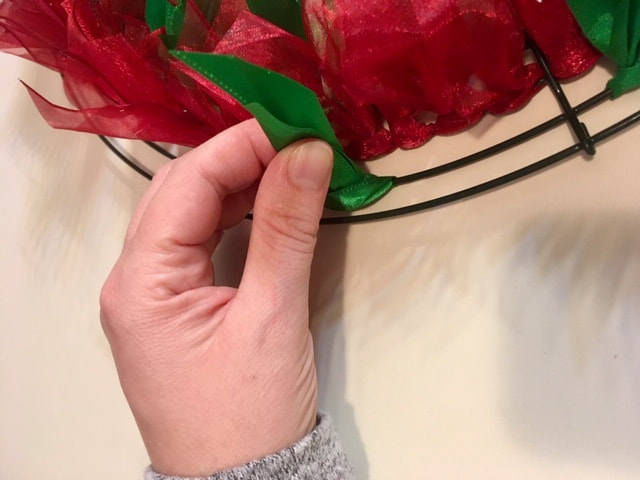 4. Repeat this step many times to cover the entire frame. 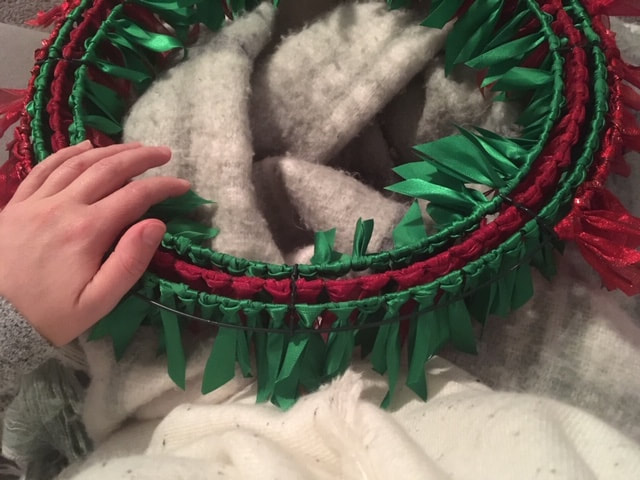 5. Wrap a garland around your wreath and secure it with floral wire. Add any additional finishing touches. 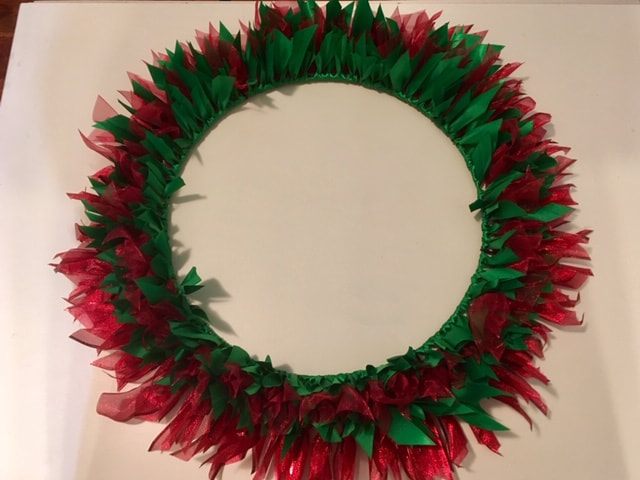 6. Your wreath is finished! Hang it up and take a minute to rest on your laurels and enjoy it!  Below are few ideas for wreaths that you can still make in time for the holidays: This project was inspired by the Nutcracker. I used short, small ribbons to fill the inner circle of the frame, longer, wider ribbons for the middle circle, and large pieces of glittery tulle for the outer circles. The materials evoke the satiny shine of ballet slippers and the flutter of the ballerinas’ tutus. Take a jolly stroll down Candy Cane Lane with this wreath made with the classic colors of Christmas. I used ribbons of the same length for a soft, graceful effect. What will the future bring? A new year means a new wreath in the 2019 Pantone Color of the Year, Living Coral! To be continued…
|
Hello, there!
Thanks for visiting! Archives
February 2024
Categories |


 RSS Feed