 Being able to sweep your hair out of the way is a must in summer! Repurpose scraps of fabric and denim to refresh a claw clip with a pop of color! To make this project, you’ll need:
 2. When you’re happy with how your project looks, seal it by brushing a thin coat of Mod Podge Fabric Waterbase Sealer, Glue, & Finish onto the fabric. Gently work the glue into the cloth as you go. Allow the glue to fully dry. Enjoy your new accessory!
0 Comments
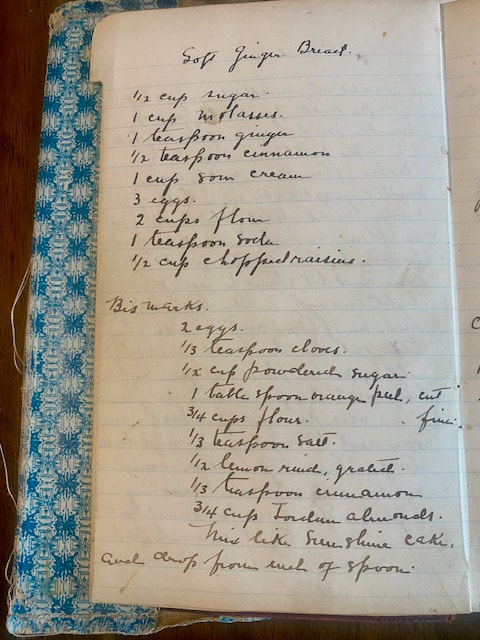
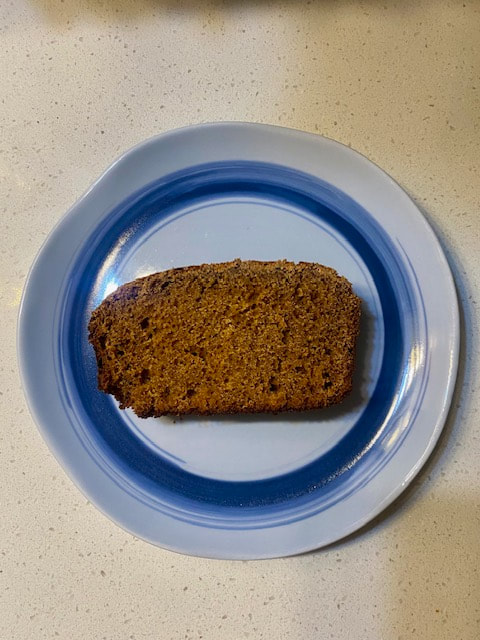
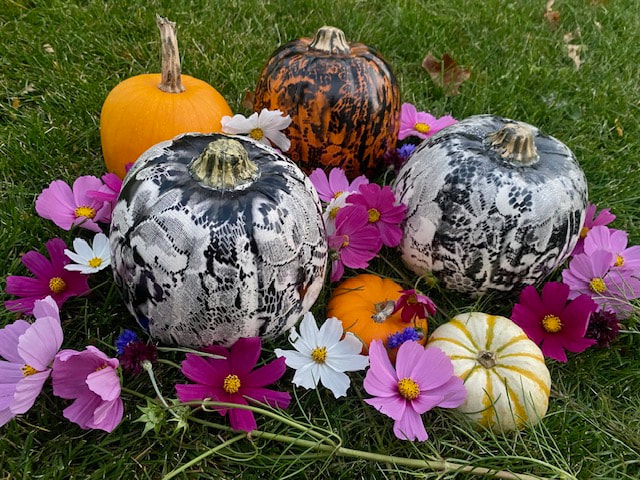
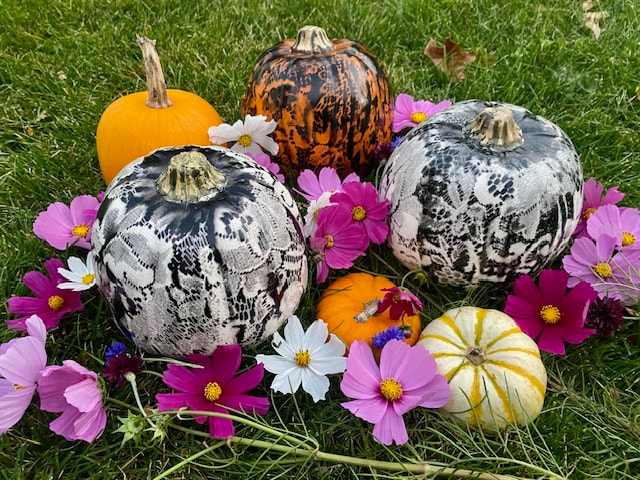
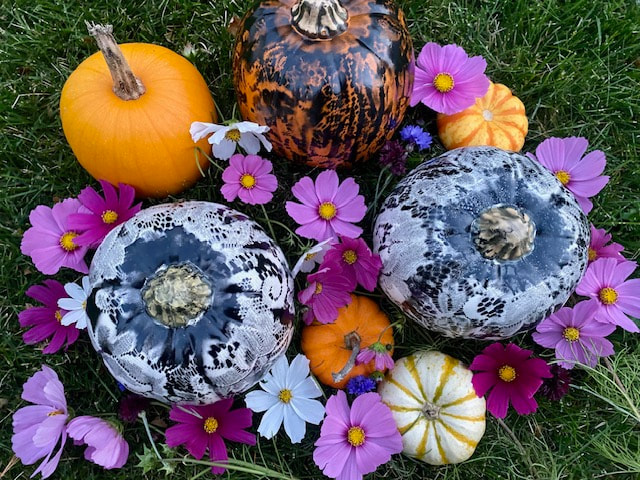
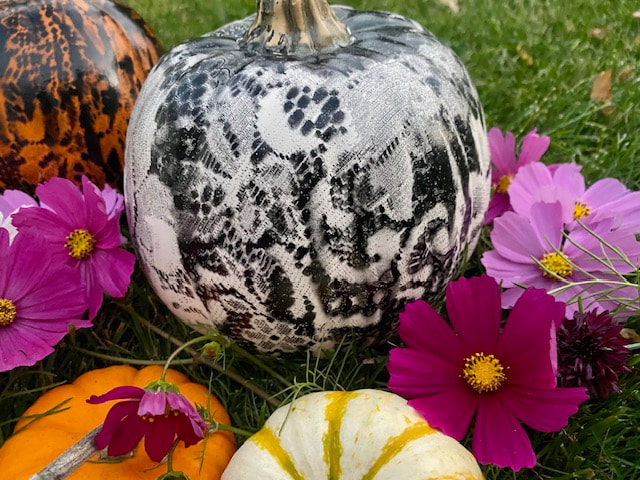
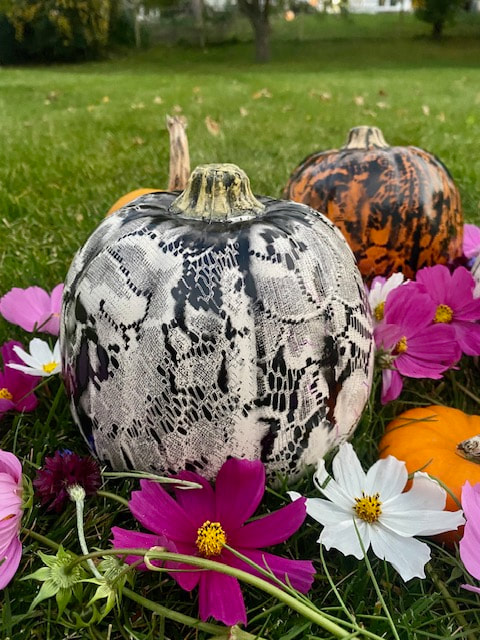
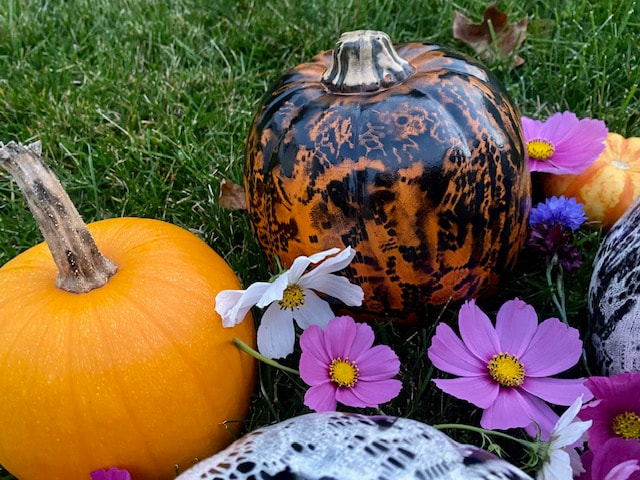
 Transform a candy cane surplus into a sweet treat that will set hearts aflutter! To make peppermint candy hearts, you’ll need: - 8 candy canes - A mortar and pestle - Colorful sprinkles or sugar crystals - A silicone candy mold - A 12-ounce bag of Sweet Tooth Fairy Meltables in red or pink - A spatula 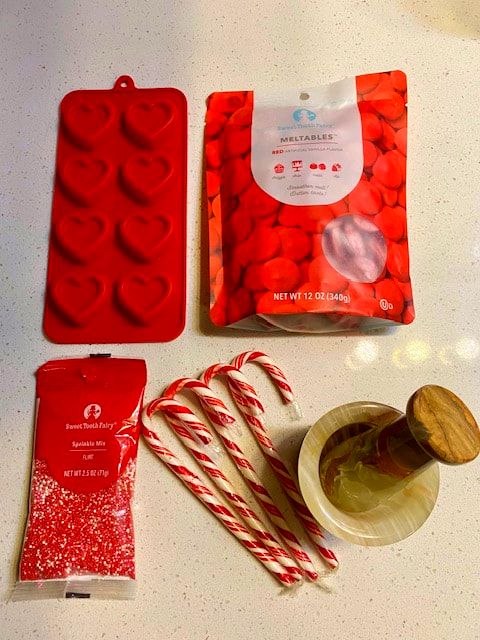 1. Snap the candy canes into pieces. Use a mortar and pestle to further crush the candy into fragments. 2. Pour a layer of sprinkles into the silicone candy mold. 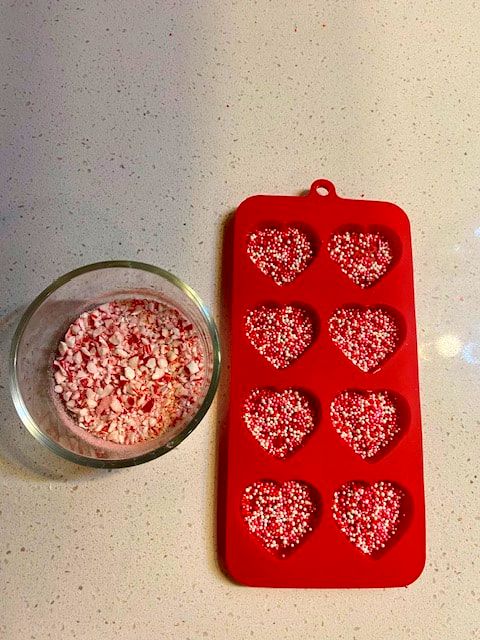 3. Following instructions on the packaging, microwave the candy melts until they liquefy. Stir in the candy cane fragments. 4. Fill the mold with the mixture. If need be, smooth the backs of the candies with a spatula. 5. The candy will solidify after resting at room temperature for about 20 minutes. Pop the individual candies out of the mold. It’s time for sweets to the sweet!  As the holidays approach, bake a sweet seasonal treat that fills your days with comfort and joy. A bonus is this retro recipe makes your entire house smell like cinnamon goodness! To make this recipe, you’ll need: - ½ cup sugar - 1 cup molasses - 1 teaspoon ginger - ½ teaspoon cinnamon - 1 cup sour cream - 3 eggs - 2 cups flour - 1 teaspoon baking soda - ½ cup chopped raisins (optional) 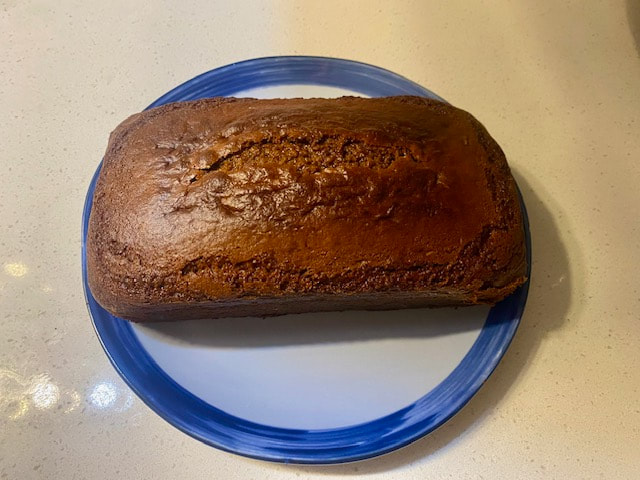 1. Preheat the oven to 350 °F. Grease a 9” by 5” bread pan with butter. 2. Mix the liquid ingredients together. 3. Add the spices. 4. Mix in the dry ingredients. 5. Pour the dough in the bread pan. Bake it for about 65 minutes. The gingerbread is ready when you can insert a toothpick into the loaf, and it comes out clean. 6. Allow the loaf to cool for at least 10 minutes before you remove it from the bread pan. Enjoy this treat! 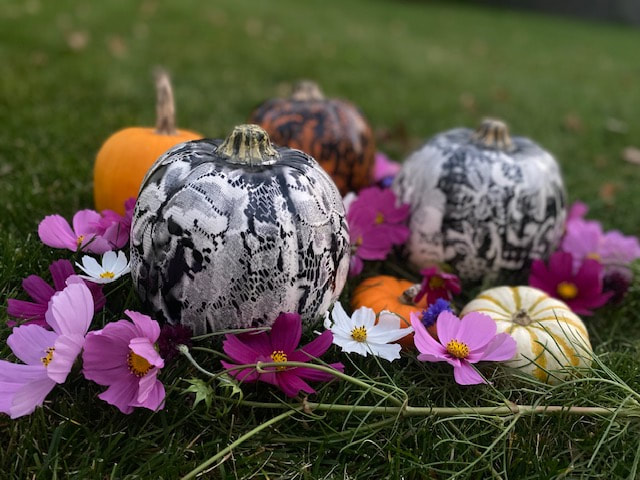 Fall is the season of gothic romance. Cast a decorative magic spell on craft pumpkins with a piece of lace and some spray paint! I used a thrifted lace curtain panel as a stencil for my pumpkins, but a tablecloth, doily, or any large piece of lace would work well. To make this project, you’ll need:
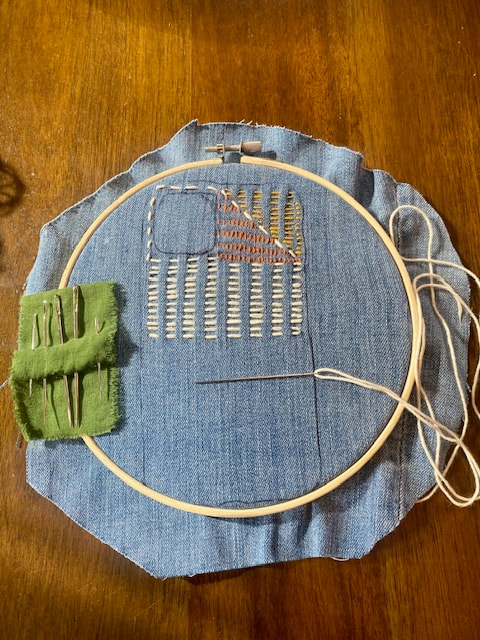
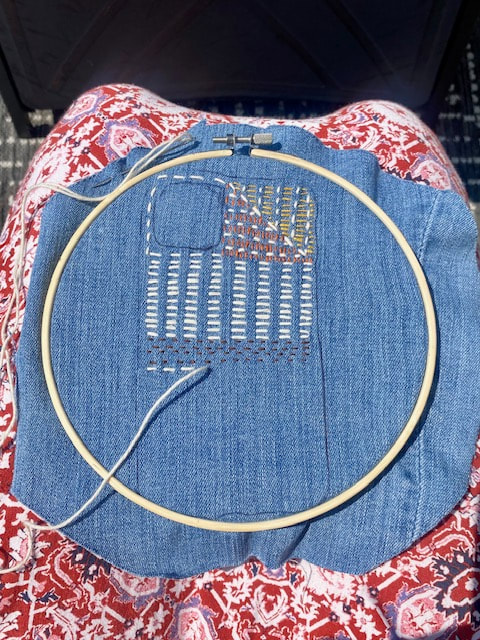
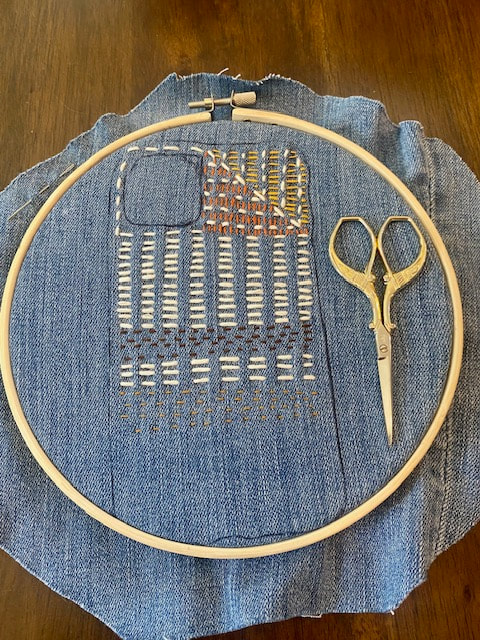
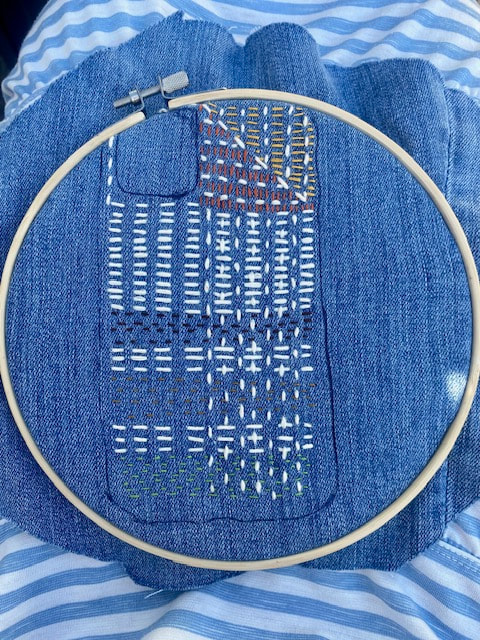
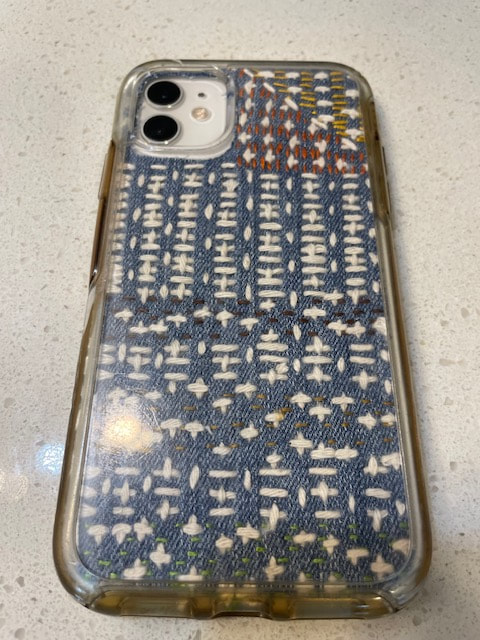
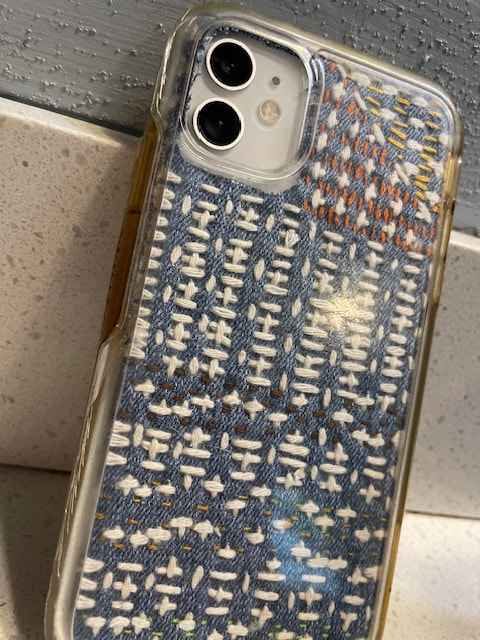
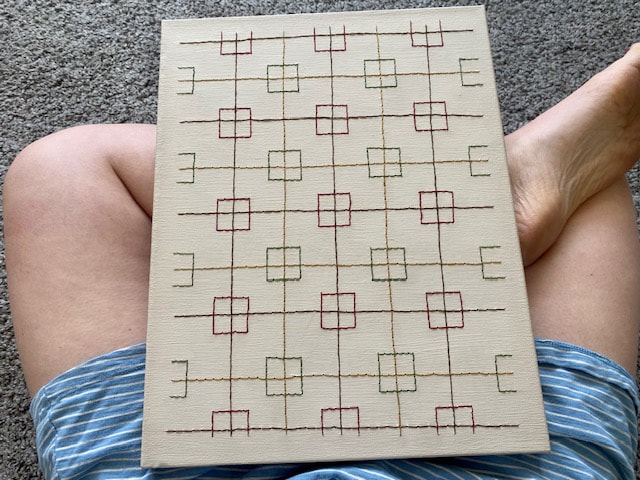
1. Cover a craft pumpkin’s stem with masking tape to protect it from the spray paint. 2. Wrap the craft pumpkin with a large piece of lace, securing the fabric under the pumpkin with a rubber band. 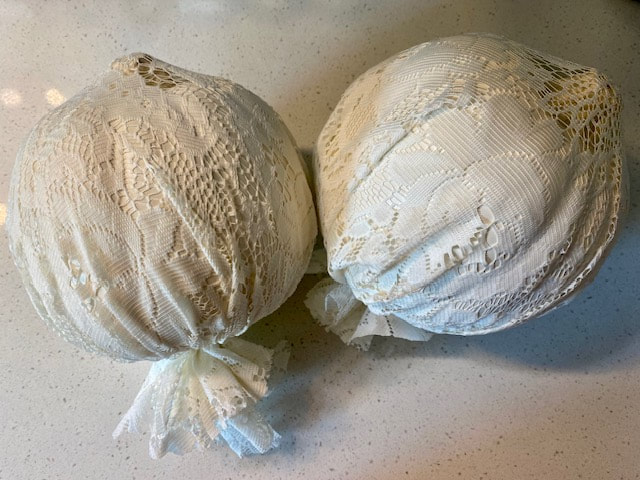 3. Following all safety and usage instructions on the canister, spray paint the pumpkin. To clearly transfer the pattern of the lace onto the pumpkin, be sure to spray the paint directly over the lace, not at an angle under the lace. 4. After the spray paint dries, remove the lace and masking tape from the craft pumpkin. 5. Following all safety and usage instructions on the canister, spray the painted pumpkin with a coat of Mod Podge Matte Clear Acrylic Sealer to protect the design. Experiment with using different types of lace and a variety of colors of craft pumpkins and spray paint. Enjoy this project and make it your own! 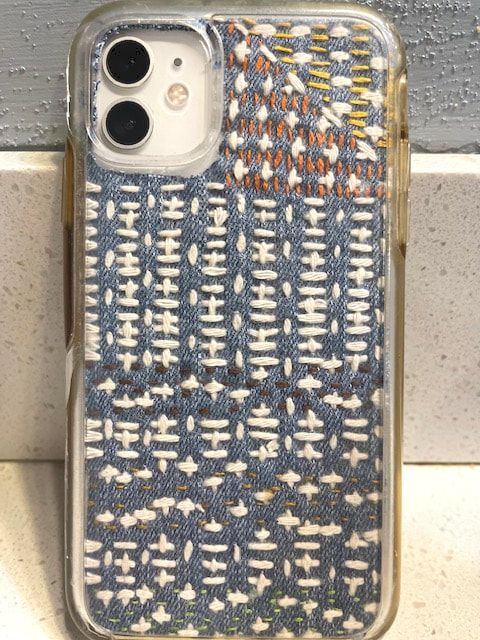 Brighten up your phone case with this denim do-over! Destruct the jeans you love to hate and give them a new lease on life by embellishing them with straight stitch. To make this project, you’ll need:
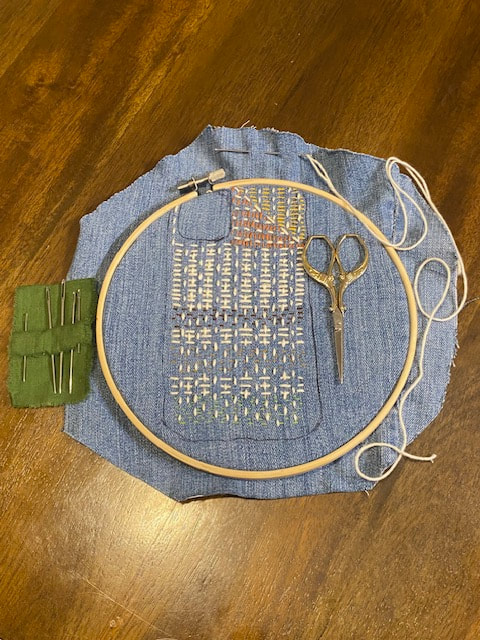
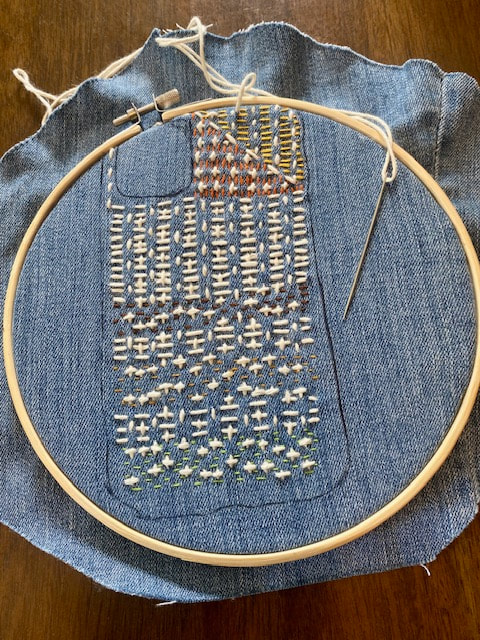
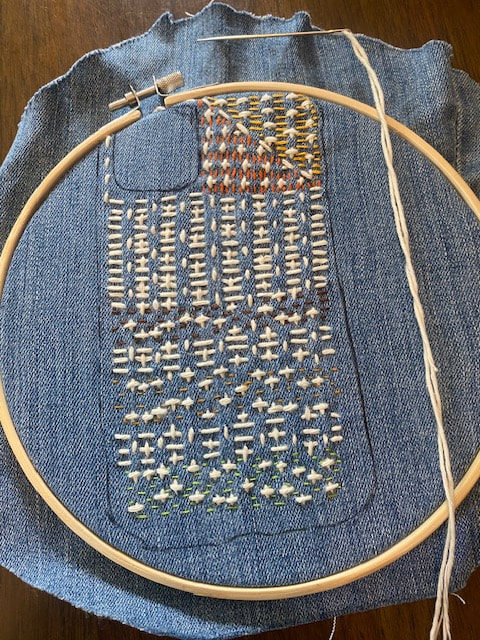
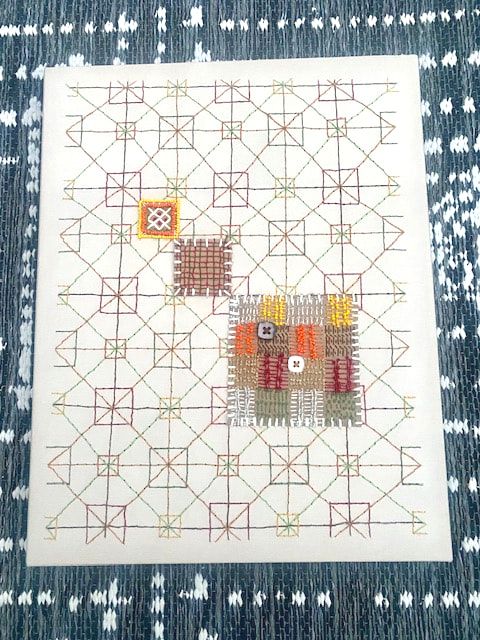
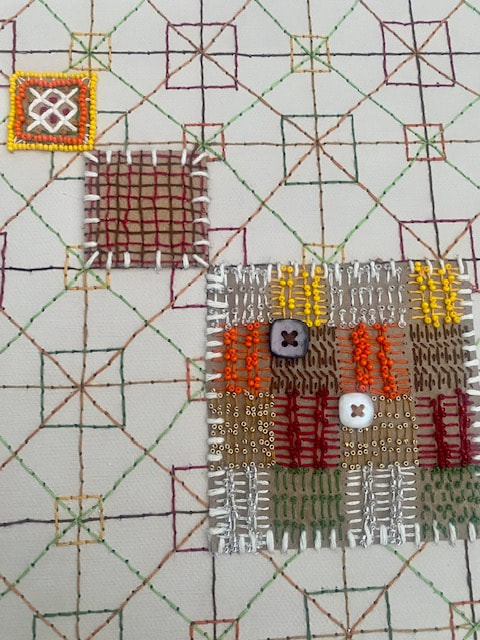
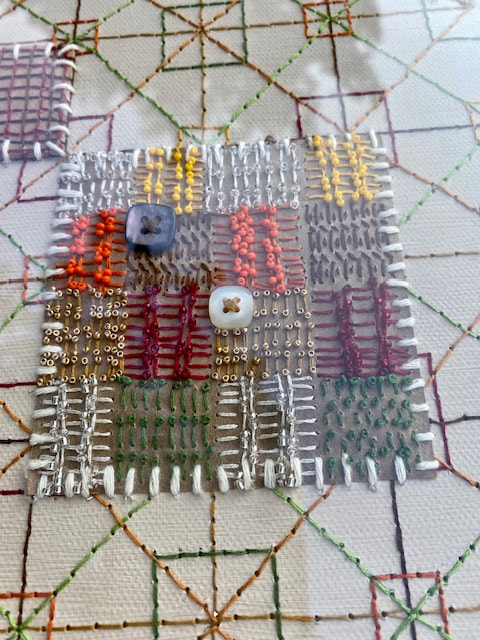
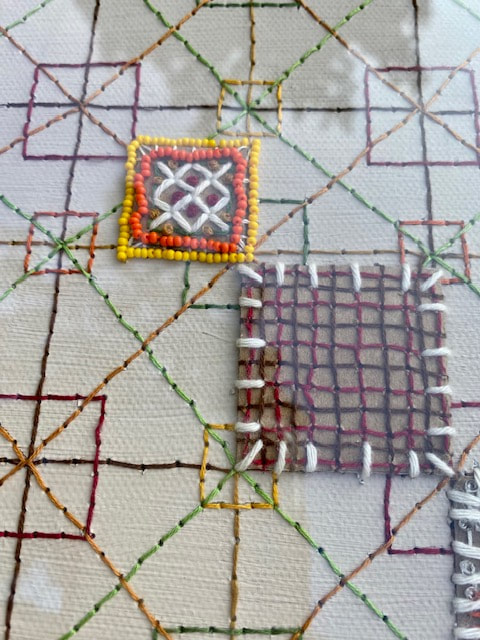
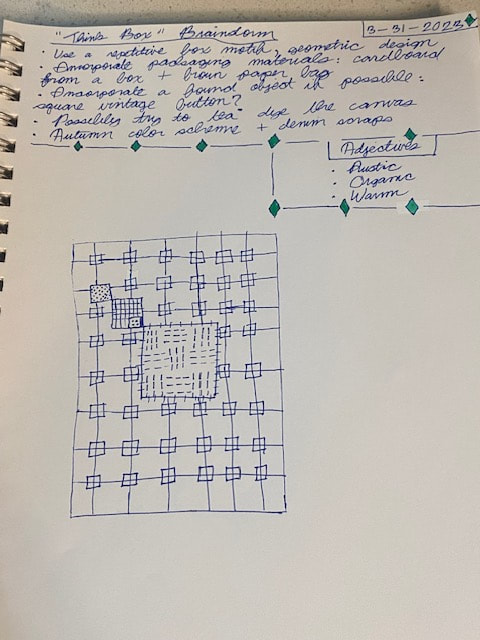
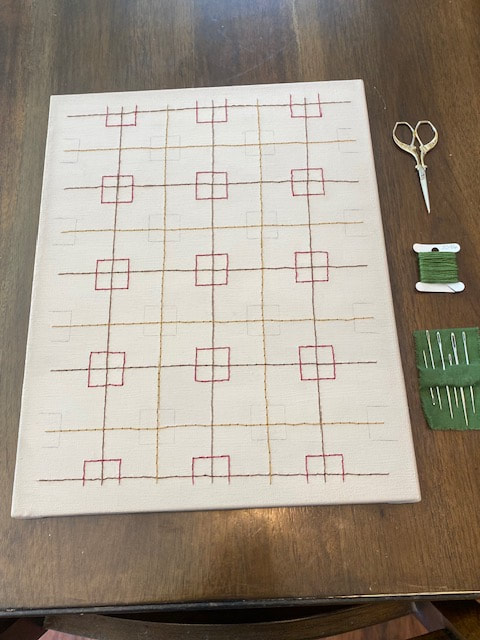
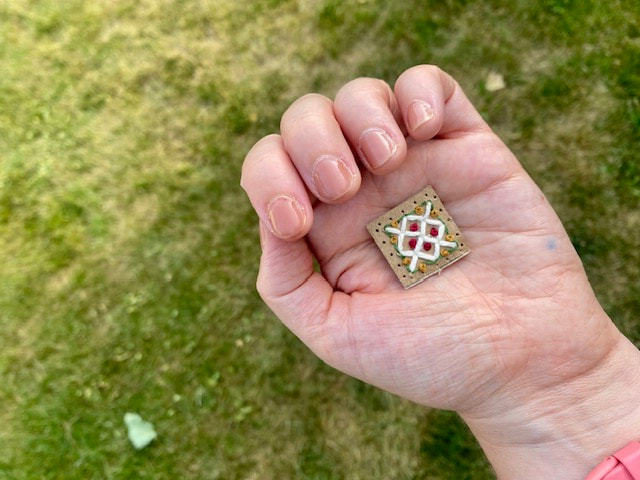
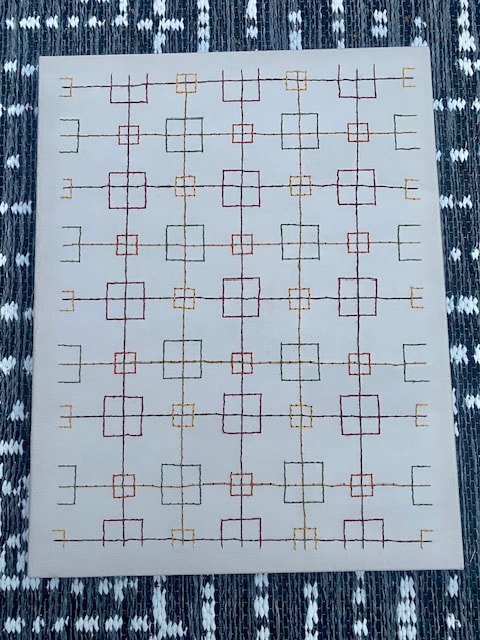
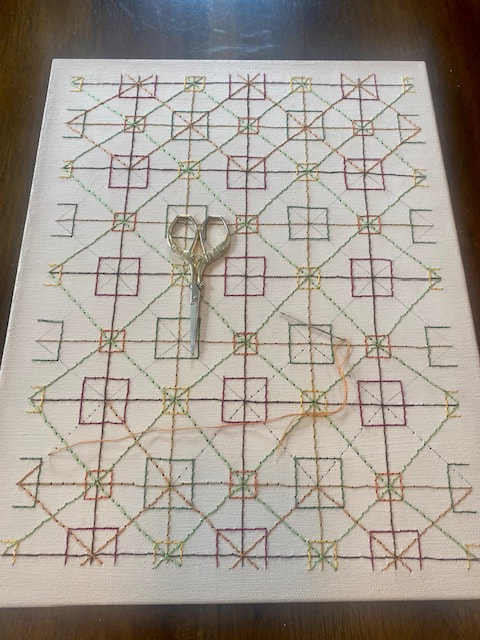
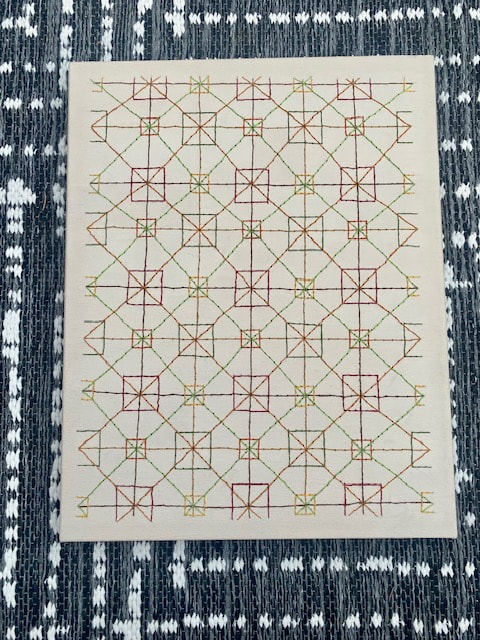
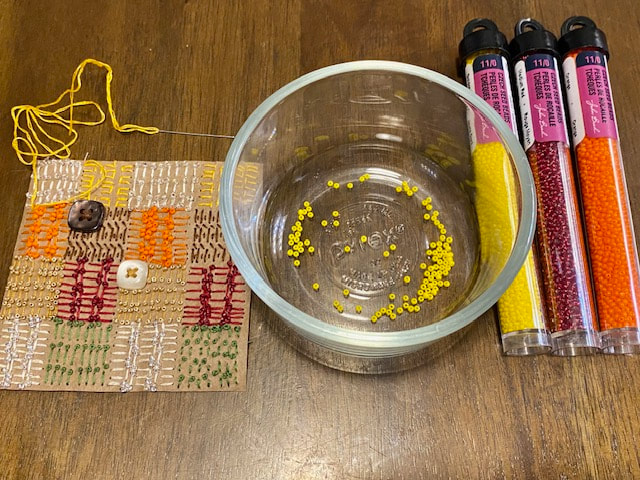
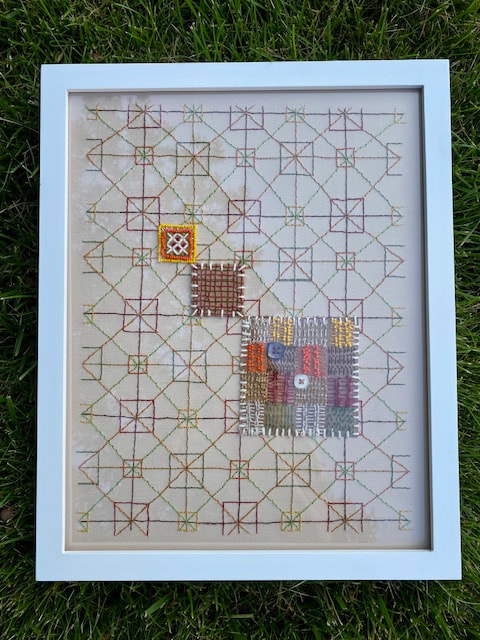
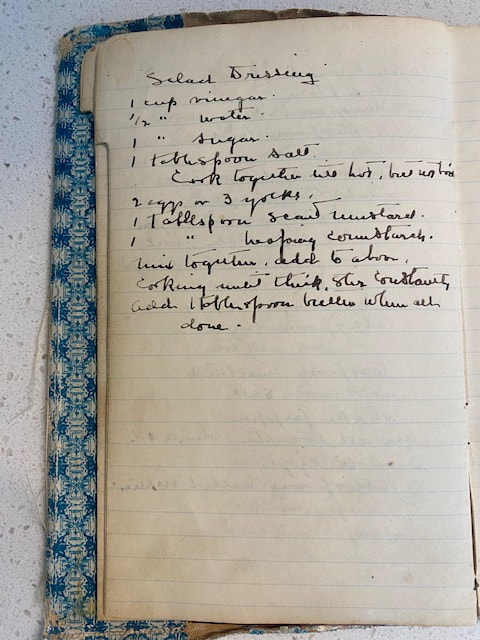
1. Cut a piece of denim from the jeans that is large enough to insert into the embroidery hoop.  2. Trace the outline of your phone case onto the denim. 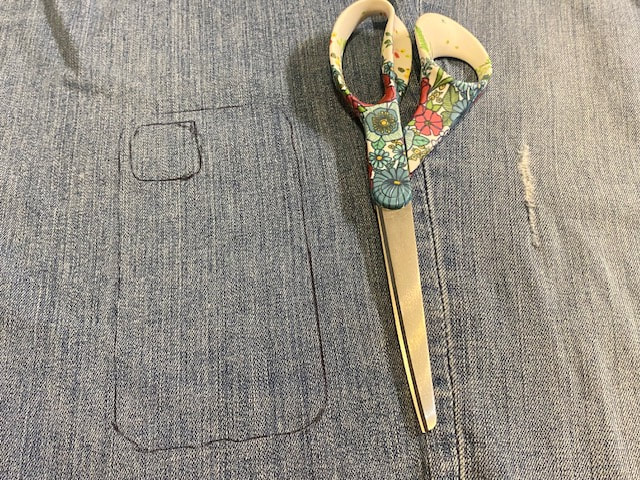 3. Place the fabric in the embroidery hoop. 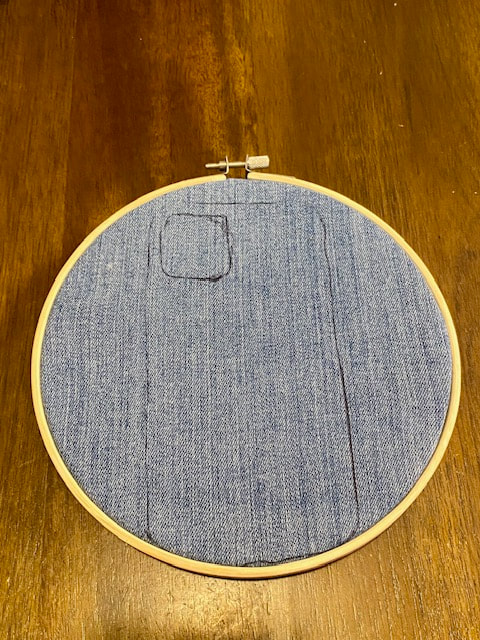 4. Embroider the denim with straight stitch. Use different colors and types of thread to create visual interest. I used both embroidery floss and sashiko thread for this project. If you can’t find sashiko thread, pearl cotton thread is a great substitute. Here’s the work in progress: 5. Remove the denim from the embroidery hoop. Cut out the design you’ve traced. Trim any excess fabric so the piece of denim fits snugly in your phone case without blocking any buttons or ports when your phone is inserted.  I had never heard of Boston cookies before I noticed the recipe in Mrs. Williams’ recipe book. This New England dessert was first noted in cookbooks in the late 19th century. Several versions of this recipe exist. I’ve added some missing information and updated this retro recipe for the modern kitchen. To make Boston cookies, you’ll need: - 1 cup butter - 1 ½ cups sugar - 3 eggs - 1 teaspoon baking soda dissolved in 1 ½ tablespoons of hot water - 3 ¼ cups flour - ½ teaspoon salt - 1 teaspoon cinnamon - ½ cup currants - ½ cup chopped raisins 1. Preheat the oven to 350 °F. Grease a cookie sheet. 2. First, whisk together the dry ingredients. Then, mix in the wet ingredients. Finally, add the dried fruit. 3. Drop dough onto the baking sheet by the spoonful one inch apart. 4. Bake the cookies for 12 to 13 minutes or until they are slightly browned. 5. Remove the cookies from the oven and allow them to cool. It’s cookie time! 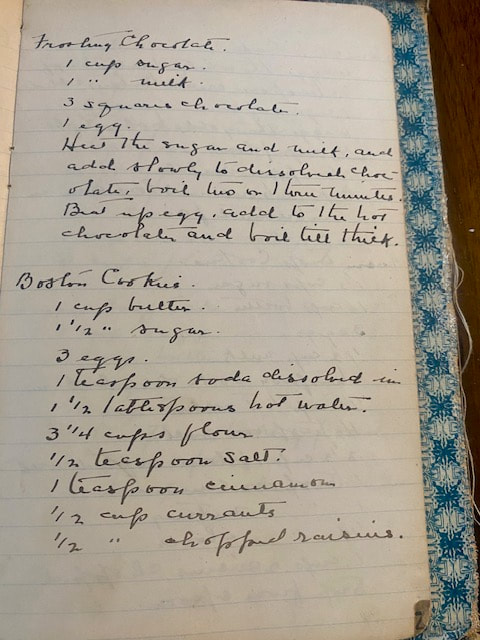 In the warmer months, I live on salads. This bright, tangy dressing adds a surprise twist to mixed greens! I’ve added some missing information and updated Mrs. Williams’ retro recipe for the modern kitchen. 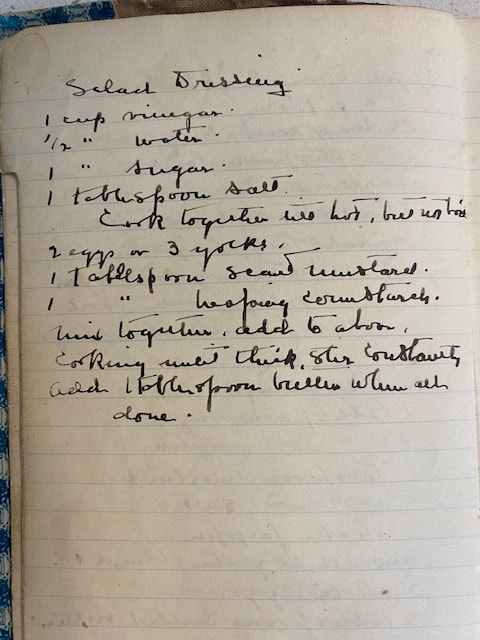 To make mustard seed salad dressing, you’ll need: - 1 cup vinegar - ½ cup water - 1 cup sugar - 1 tablespoon salt - 2 eggs - 1 tablespoon seed mustard - 1 heaping tablespoon cornstarch - 1 tablespoon butter
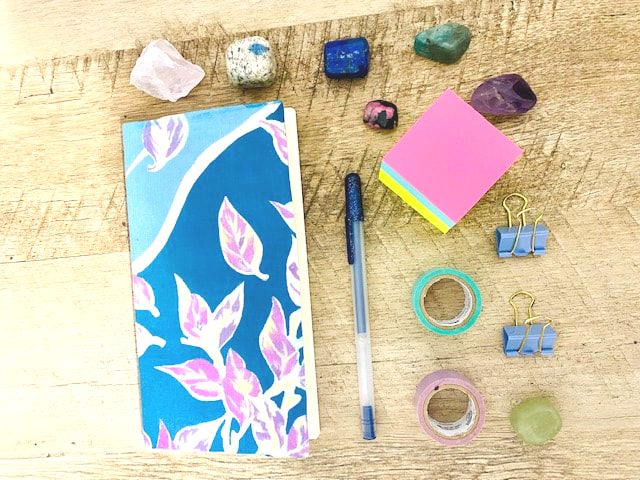
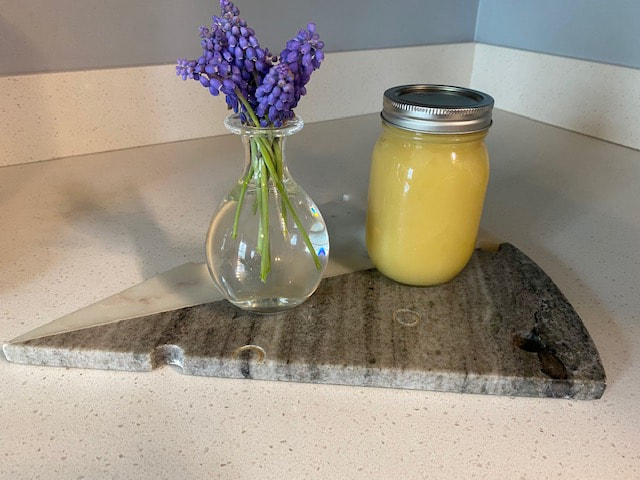
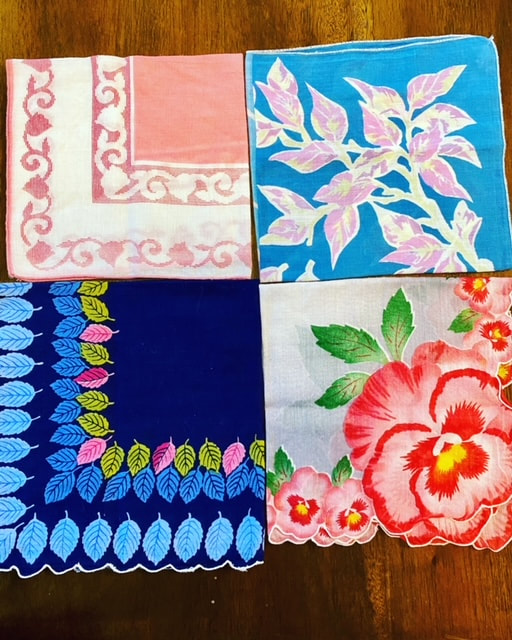
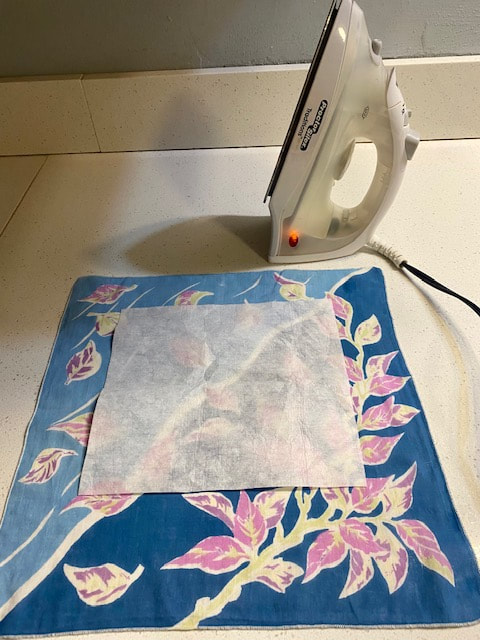
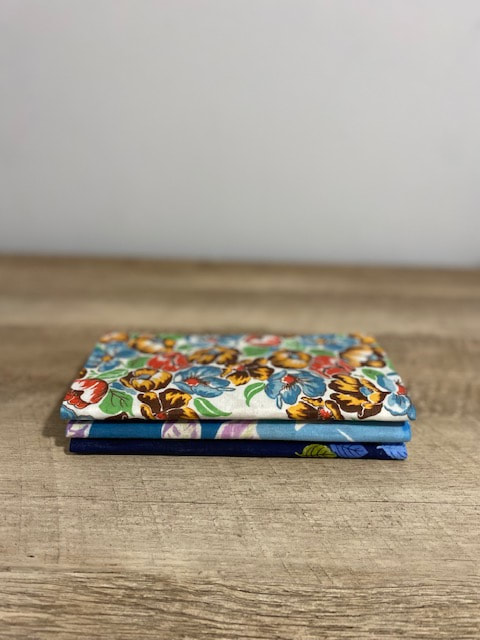
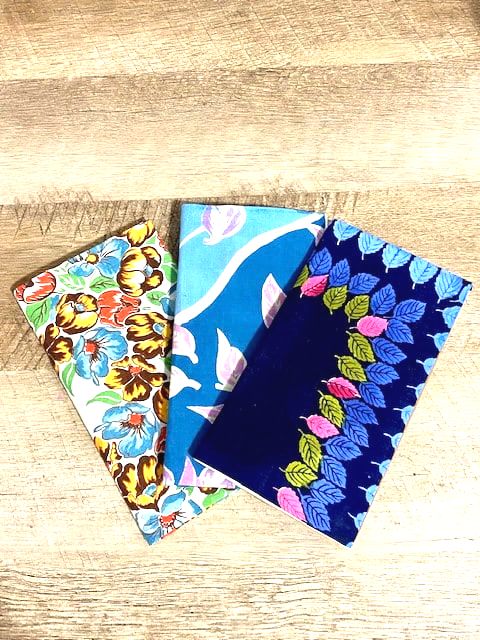 The retro floral print of a vintage hankie adds a pop of color and a special touch to even the most ordinary of notebooks. Create this no-sew project and show some love to your Valentine! To make this project, you’ll need:
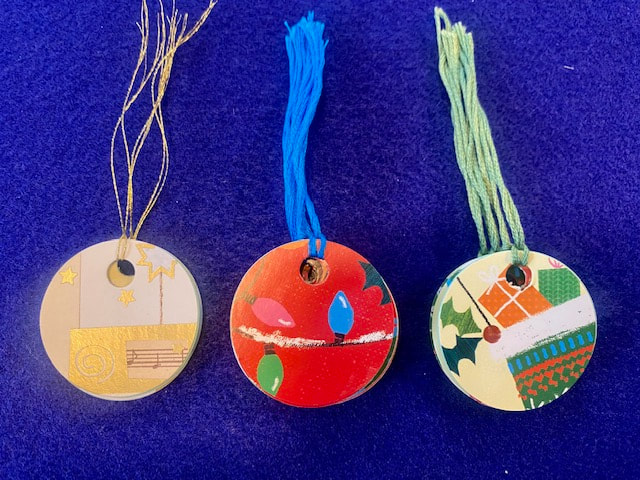
  Skip the recycle bin and reuse the holiday cards you’ve received this season to make gift tags for a Christmas yet to come! To make this project, you’ll need:
 |
Hello, there!
Thanks for visiting! Archives
February 2024
Categories |


 RSS Feed