|
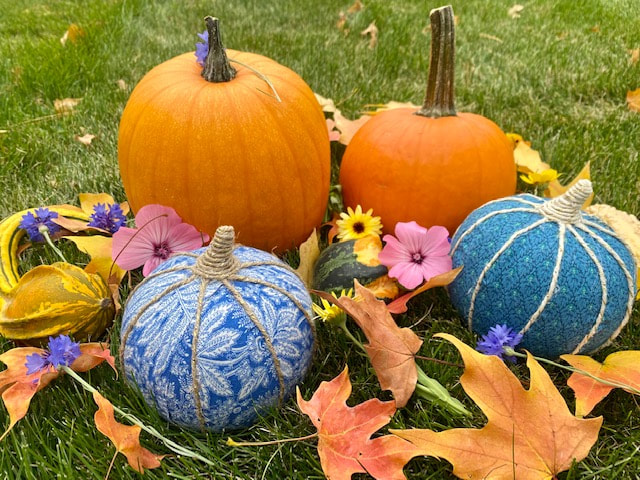
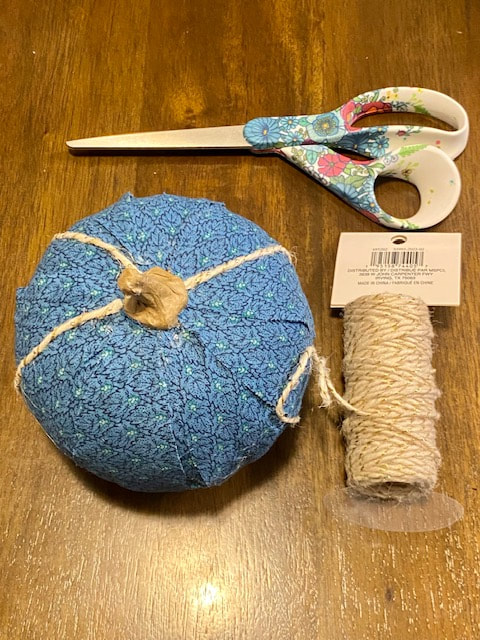
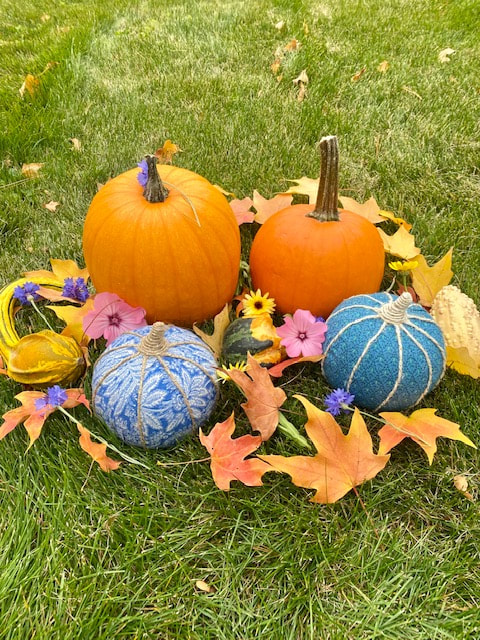
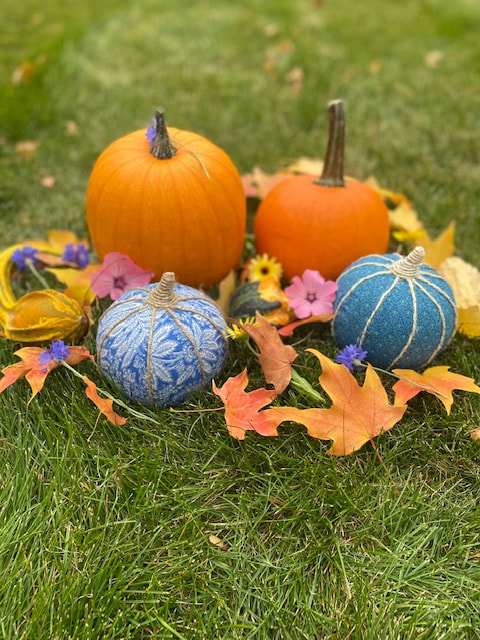
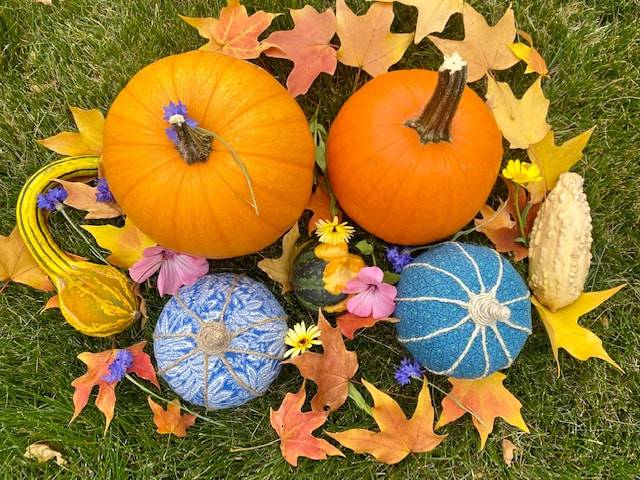
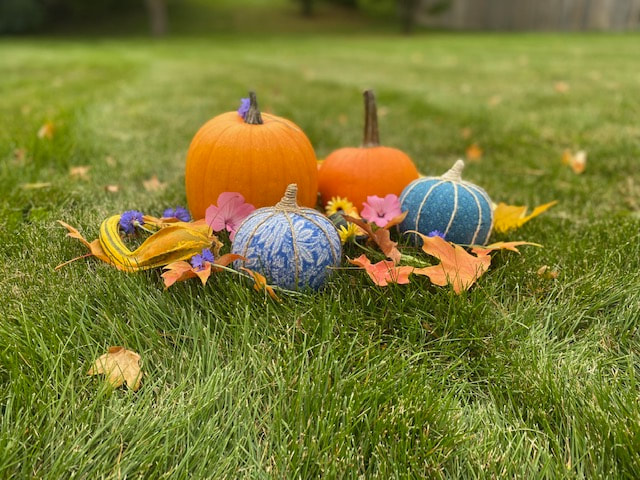
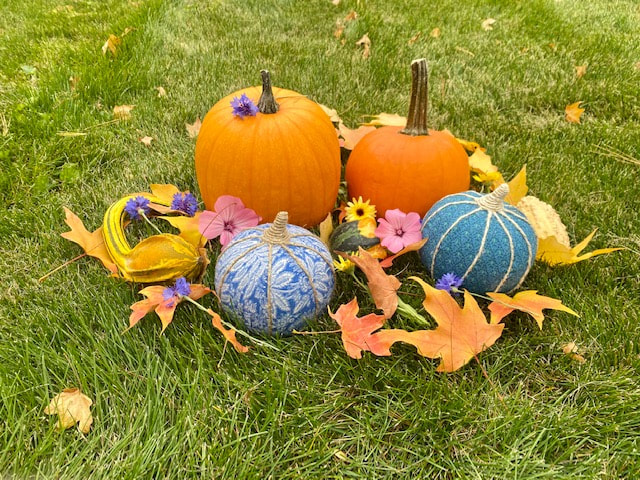
Transform scraps of cute fabric that you can’t bear to part with to pumpkin spice up your life! In a busy season full of hayrides, apple picking, and costume parties, get your pumpkin fix in a flash with this speedy craft. To make this project, you’ll need:
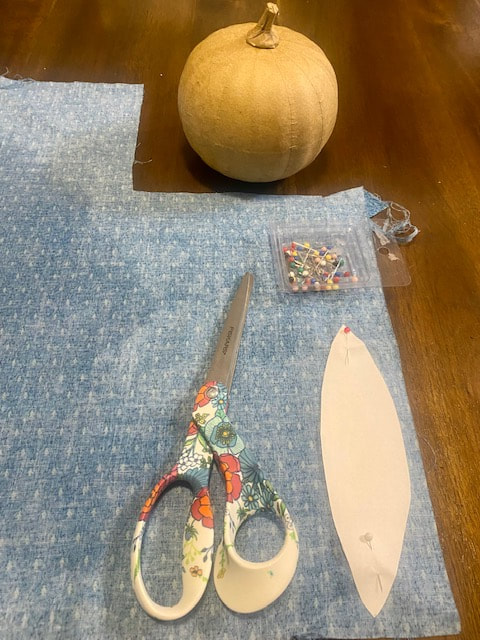
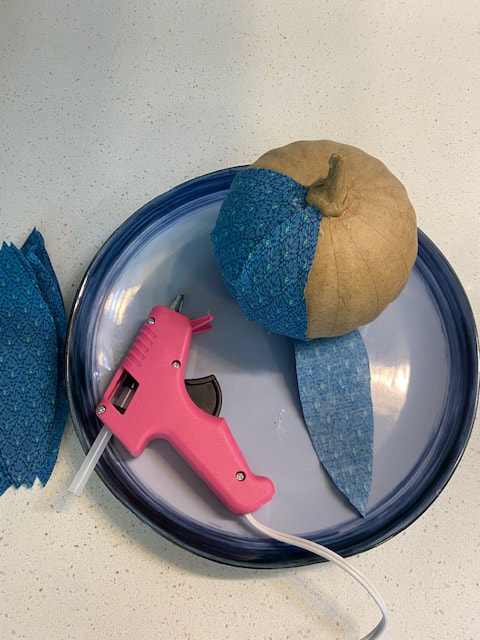
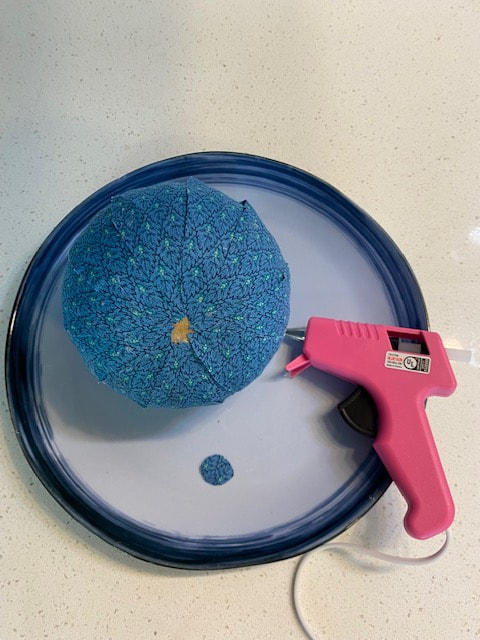
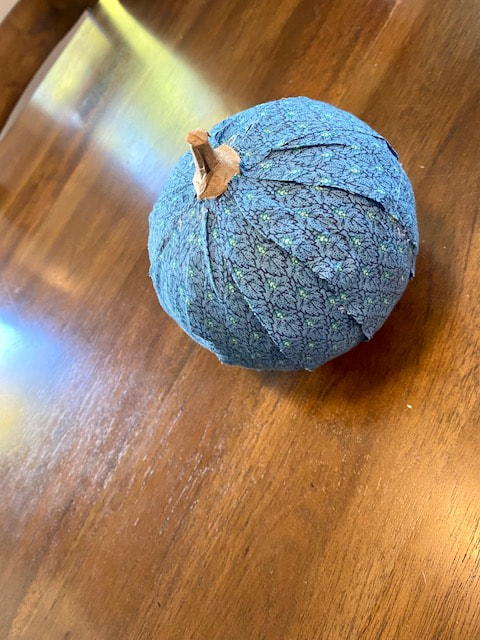
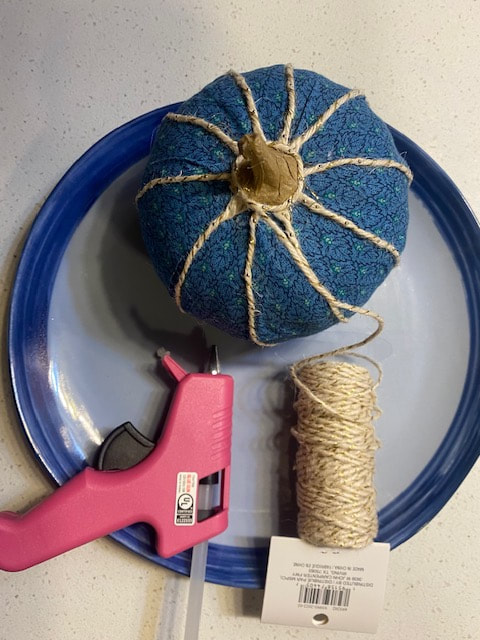
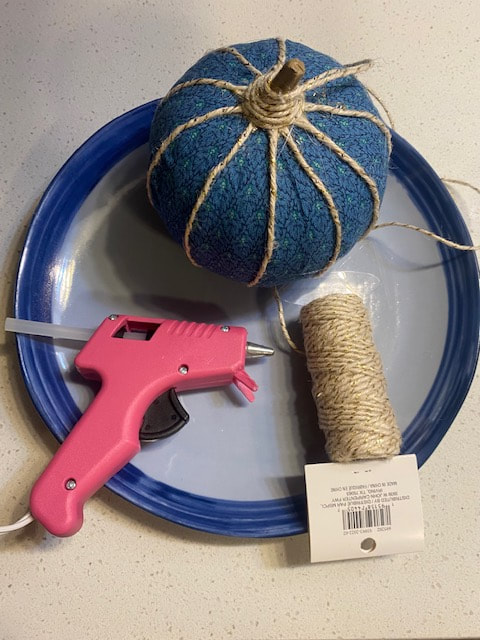
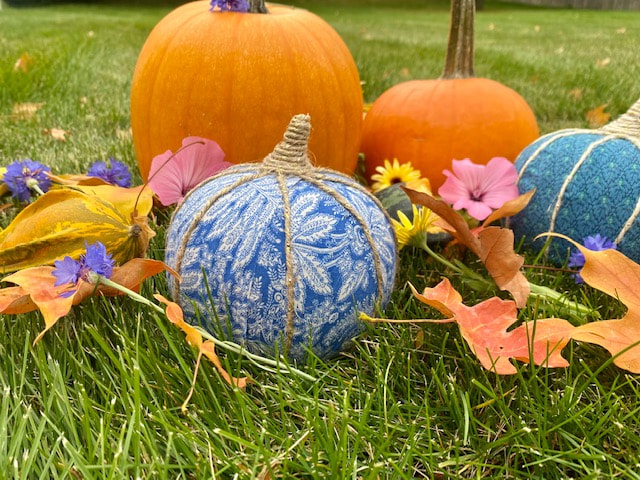
1. Create a teardrop-shaped template that is about the same width (2”) and length (6.5”) as a segment of the crafting pumpkin. 2. Iron the fabric you’ll use to decorate the pumpkin. Pin the template to the fabric and cut 12 pieces of fabric to cover the pumpkin. 3. One segment at a time, attach the fabric to the crafting pumpkin with a thin layer of hot glue. For each segment, start by gluing the fabric at the bottom of the pumpkin and work your way up to the stem. Trim any excess fabric near the stem. Slightly overlap each piece of fabric to avoid gaps. 4. Cover the gap at the bottom of the pumpkin with a small circle of fabric. Do the same thing with any other gaps. 5. Use sequin pins to secure twine in a contrasting color to the raw edges of the segments of fabric. 6. Pin twine at the base of the pumpkin’s stem. Continuing upward, use hot glue to secure the twine as you wrap the rest of the stem with it. Enjoy your pumpkin! Create just one or make an entire pumpkin patch. Try using vintage hankies or a variety of printed fabrics on the same pumpkin. Have a wonderful, creative fall!
0 Comments
Leave a Reply. |
Hello, there!
Thanks for visiting! Archives
February 2024
Categories |
 RSS Feed